


How Can I Enroll a New Patient?
You can enroll a new patient by entering their details yourself or letting them complete your online enrollment form.
Online enrollments need your clinic’s approval before the patient enters the regular billing cycle. Patients can also provide a card or connect a bank account during enrollment, reducing the payment setup your team needs to handle afterward.
Enrolling a Patient Manually
To enter a patient’s information yourself:
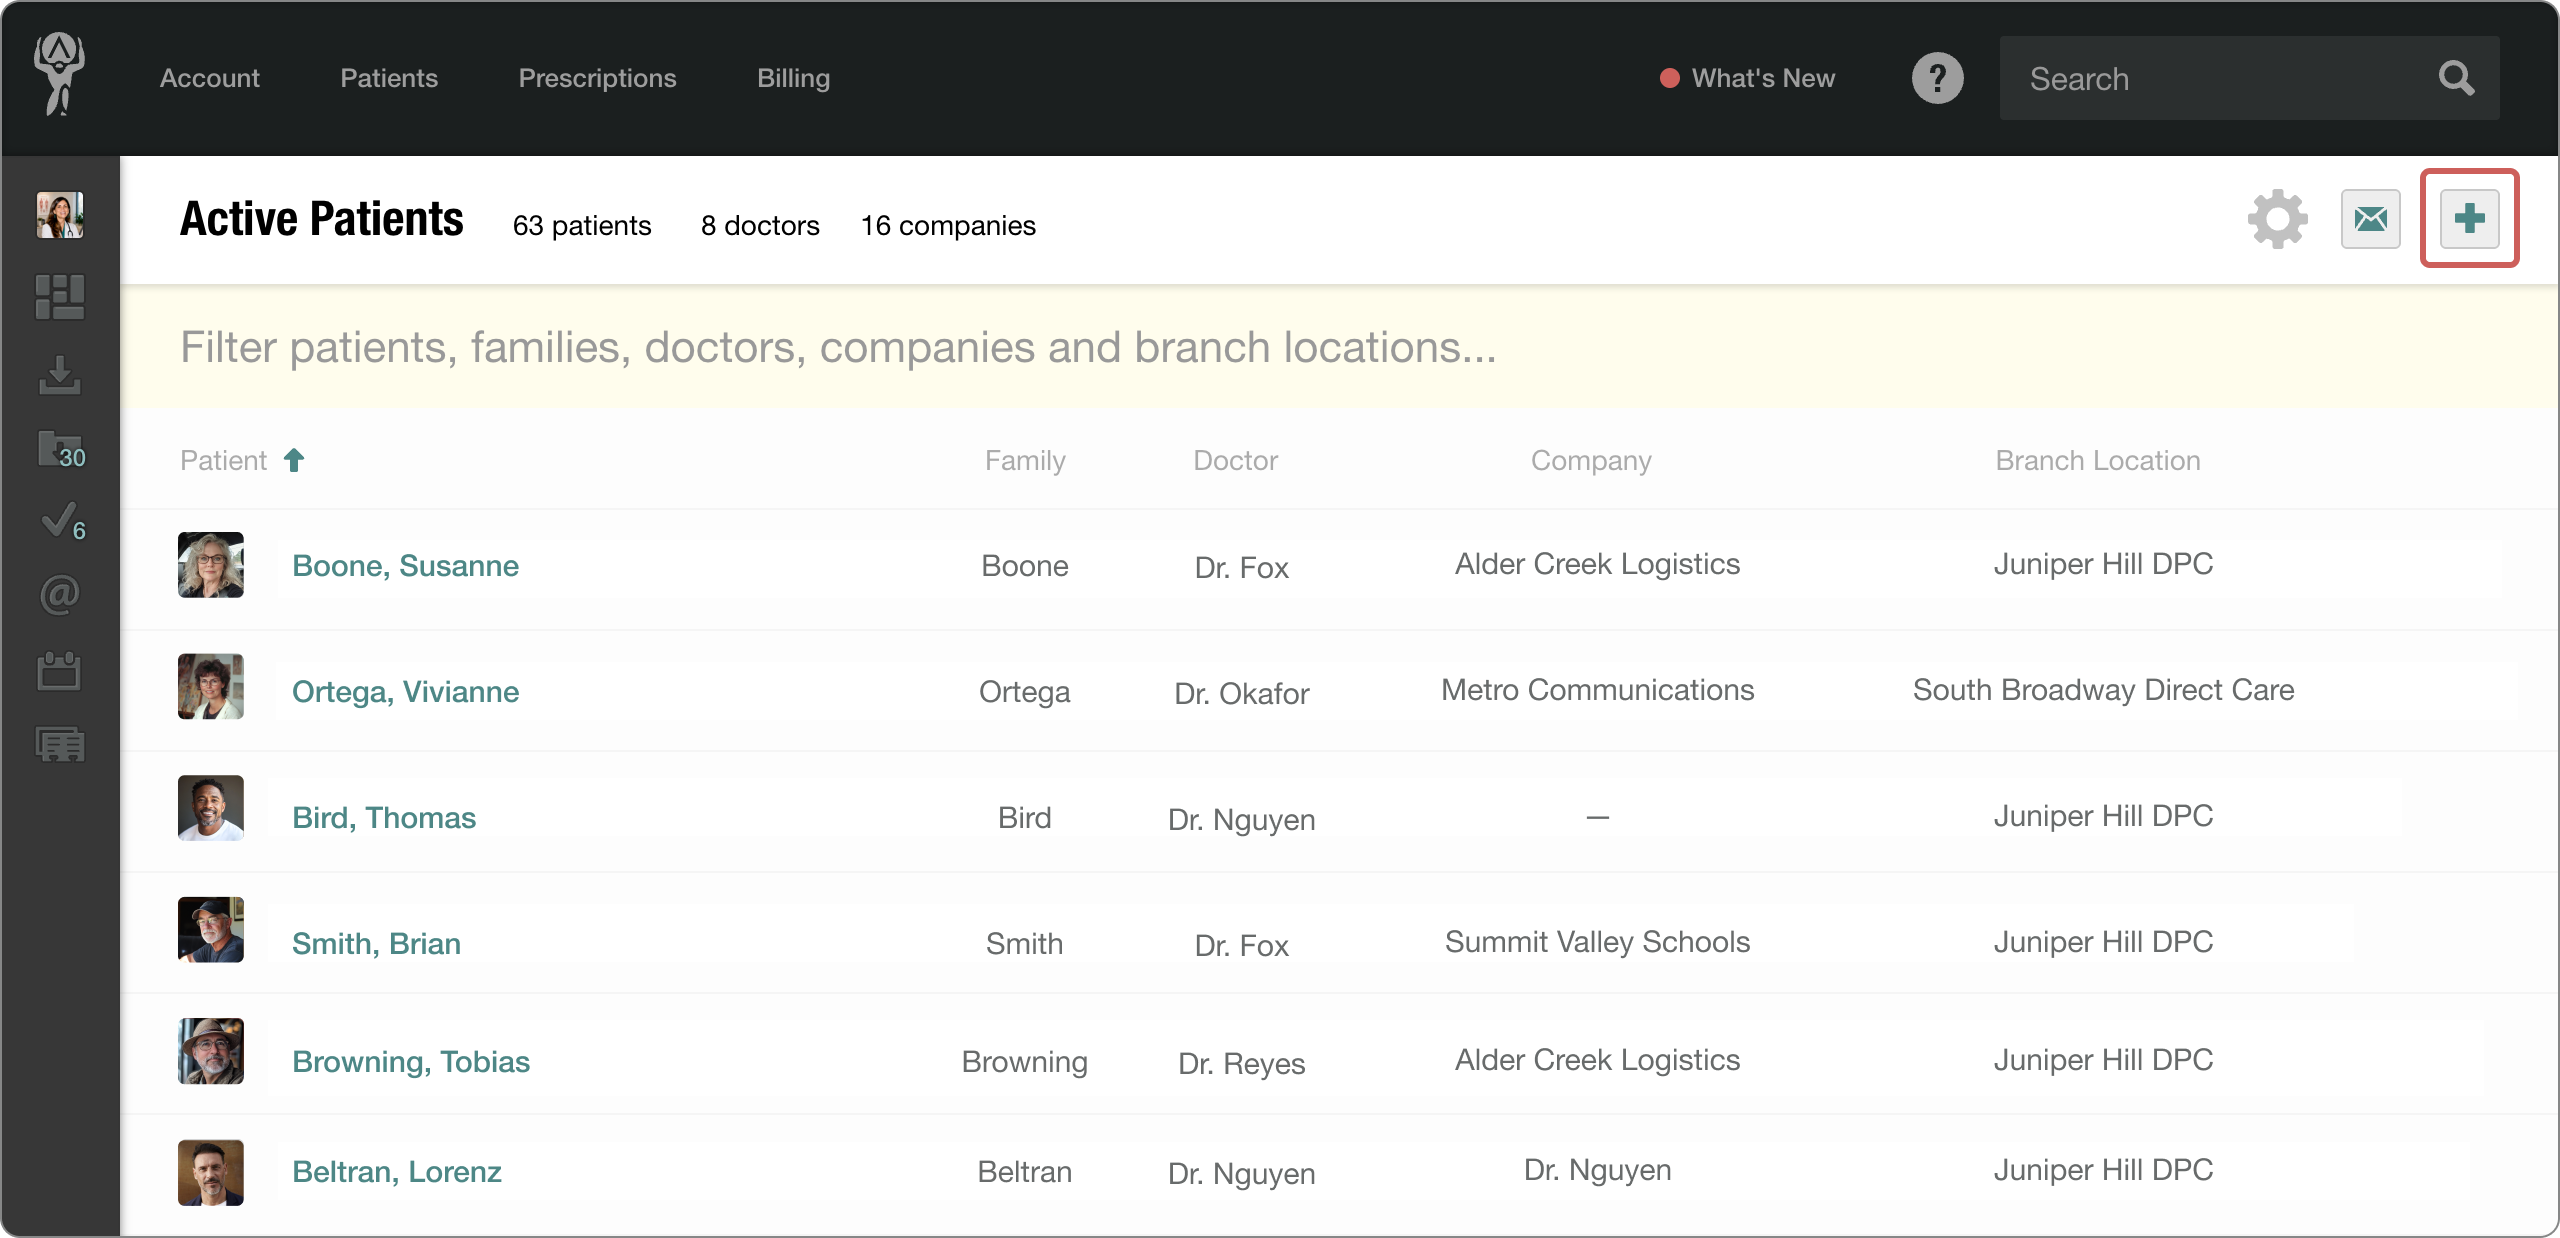
- Select Patients in the top navigation to open the Active Patients page.
- Click the plus icon in the upper-right corner.
- Enter the patient’s details, including their name, date of birth, contact information, and any available medical history.
- Click Next to review the information.
- Select Save and Go to Patient Chart, or choose Continue Adding Details to enter more information.
Letting Patients Enroll Online
Your online enrollment form lets patients submit their own information through your clinic’s website.
To enable the form and get the code for your website:
- Go to Account > Settings.
- Scroll down to Patient Enrollment Form.
- Click View and Update Settings.
- Make sure Enrollment Enabled is checked.
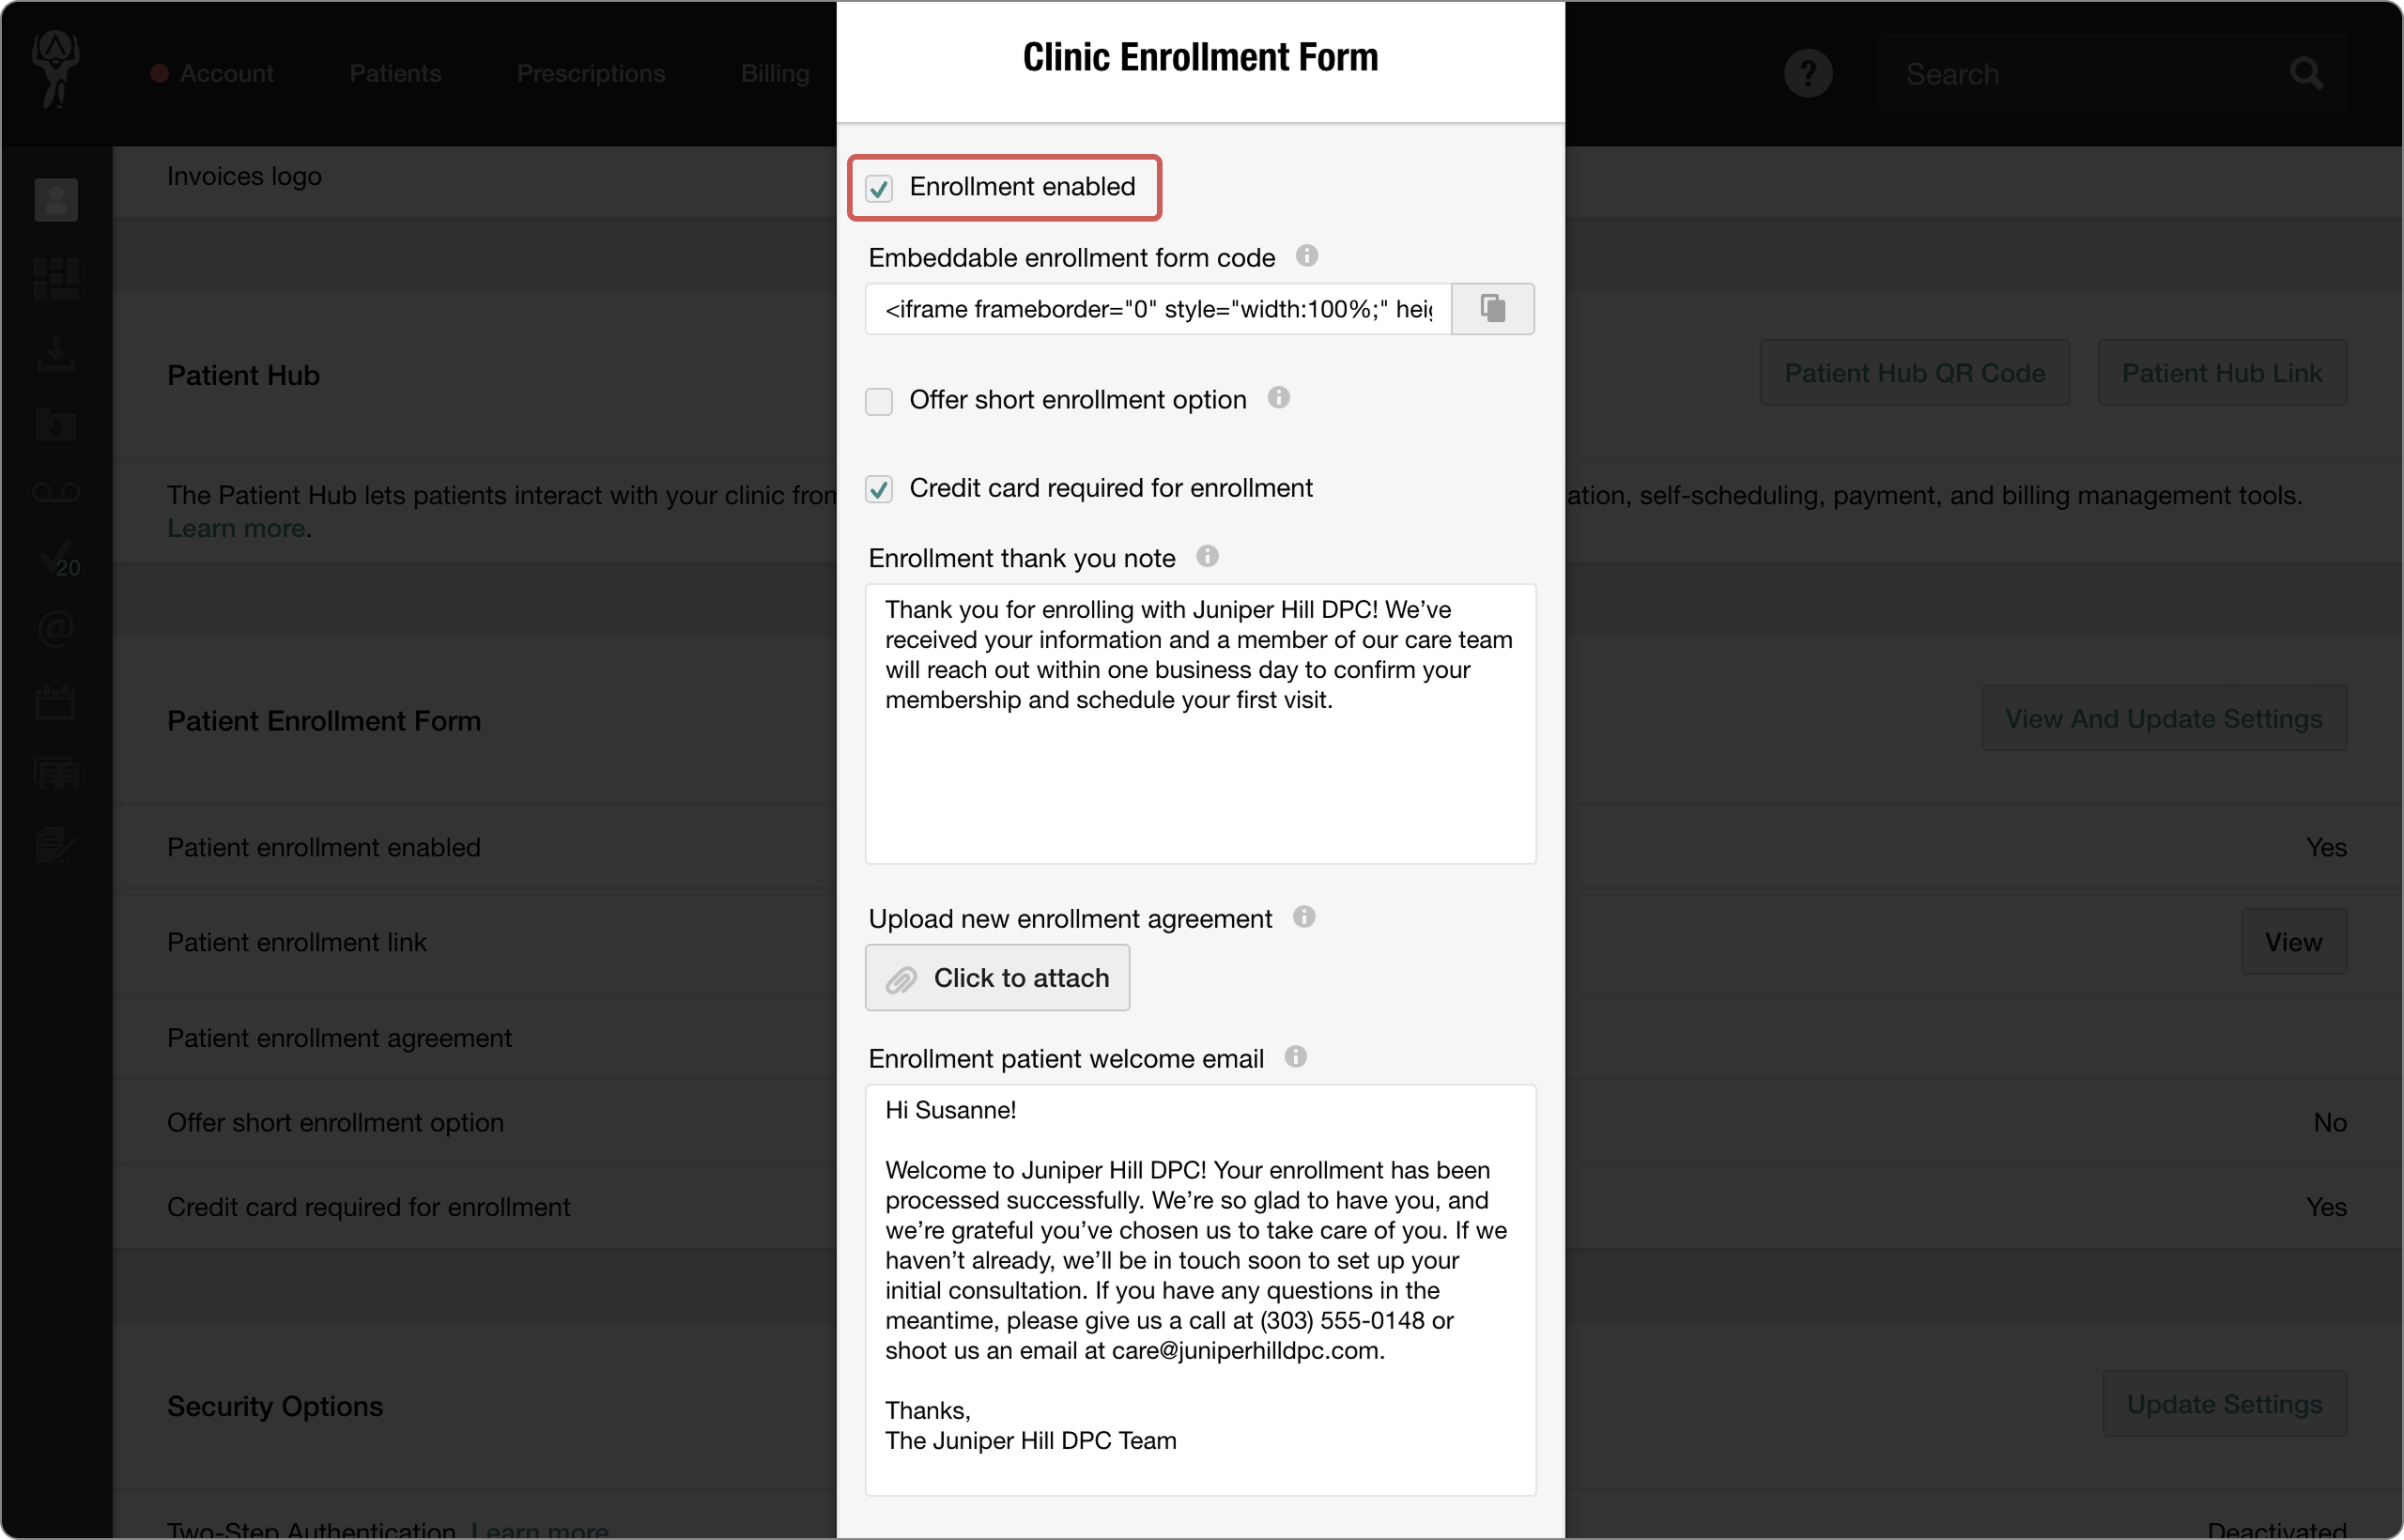
- Copy the Embeddable enrollment form code and add it to your website, or share it with the person who manages your site.
The code embeds the enrollment form directly into your website. Information patients submit through the form is securely sent to Atlas.md.
The form is available in English and Spanish. English is the default, and patients can select Spanish when they open the enrollment page.
Choosing a Payment Method During Online Enrollment
On the Billing Information step, patients can select their billing frequency, billing day, and payment method.
They can choose between:
- Bank Account: A checking or savings account for ACH payments.
- Card: A credit or debit card.
To connect a bank account, the patient selects Bank Account, clicks Connect Bank Account, and follows the prompts in Stripe’s secure window. They then return to the enrollment form to finish signing up.
The form displays the bank name, the account’s last four digits, and either Connected or Verification pending. If verification is pending, it must be completed before the account can be charged.
Once your clinic approves the enrollment, the bank account is saved to the patient’s billing profile. Automatic payments use the billing day selected during enrollment, once verification is complete.
Learn more about ACH setup and verification.
Reviewing and Approving Online Enrollments
When a patient submits your online enrollment form, their registration appears under Unconfirmed Enrollments.
Atlas.md notifies your clinic by email. You’ll also see an exclamation point next to Patients in the top navigation and an Unconfirmed Enrollments alert in the settings menu on the Active Patients page.
To review an enrollment:
- Select Patients from the top navigation.
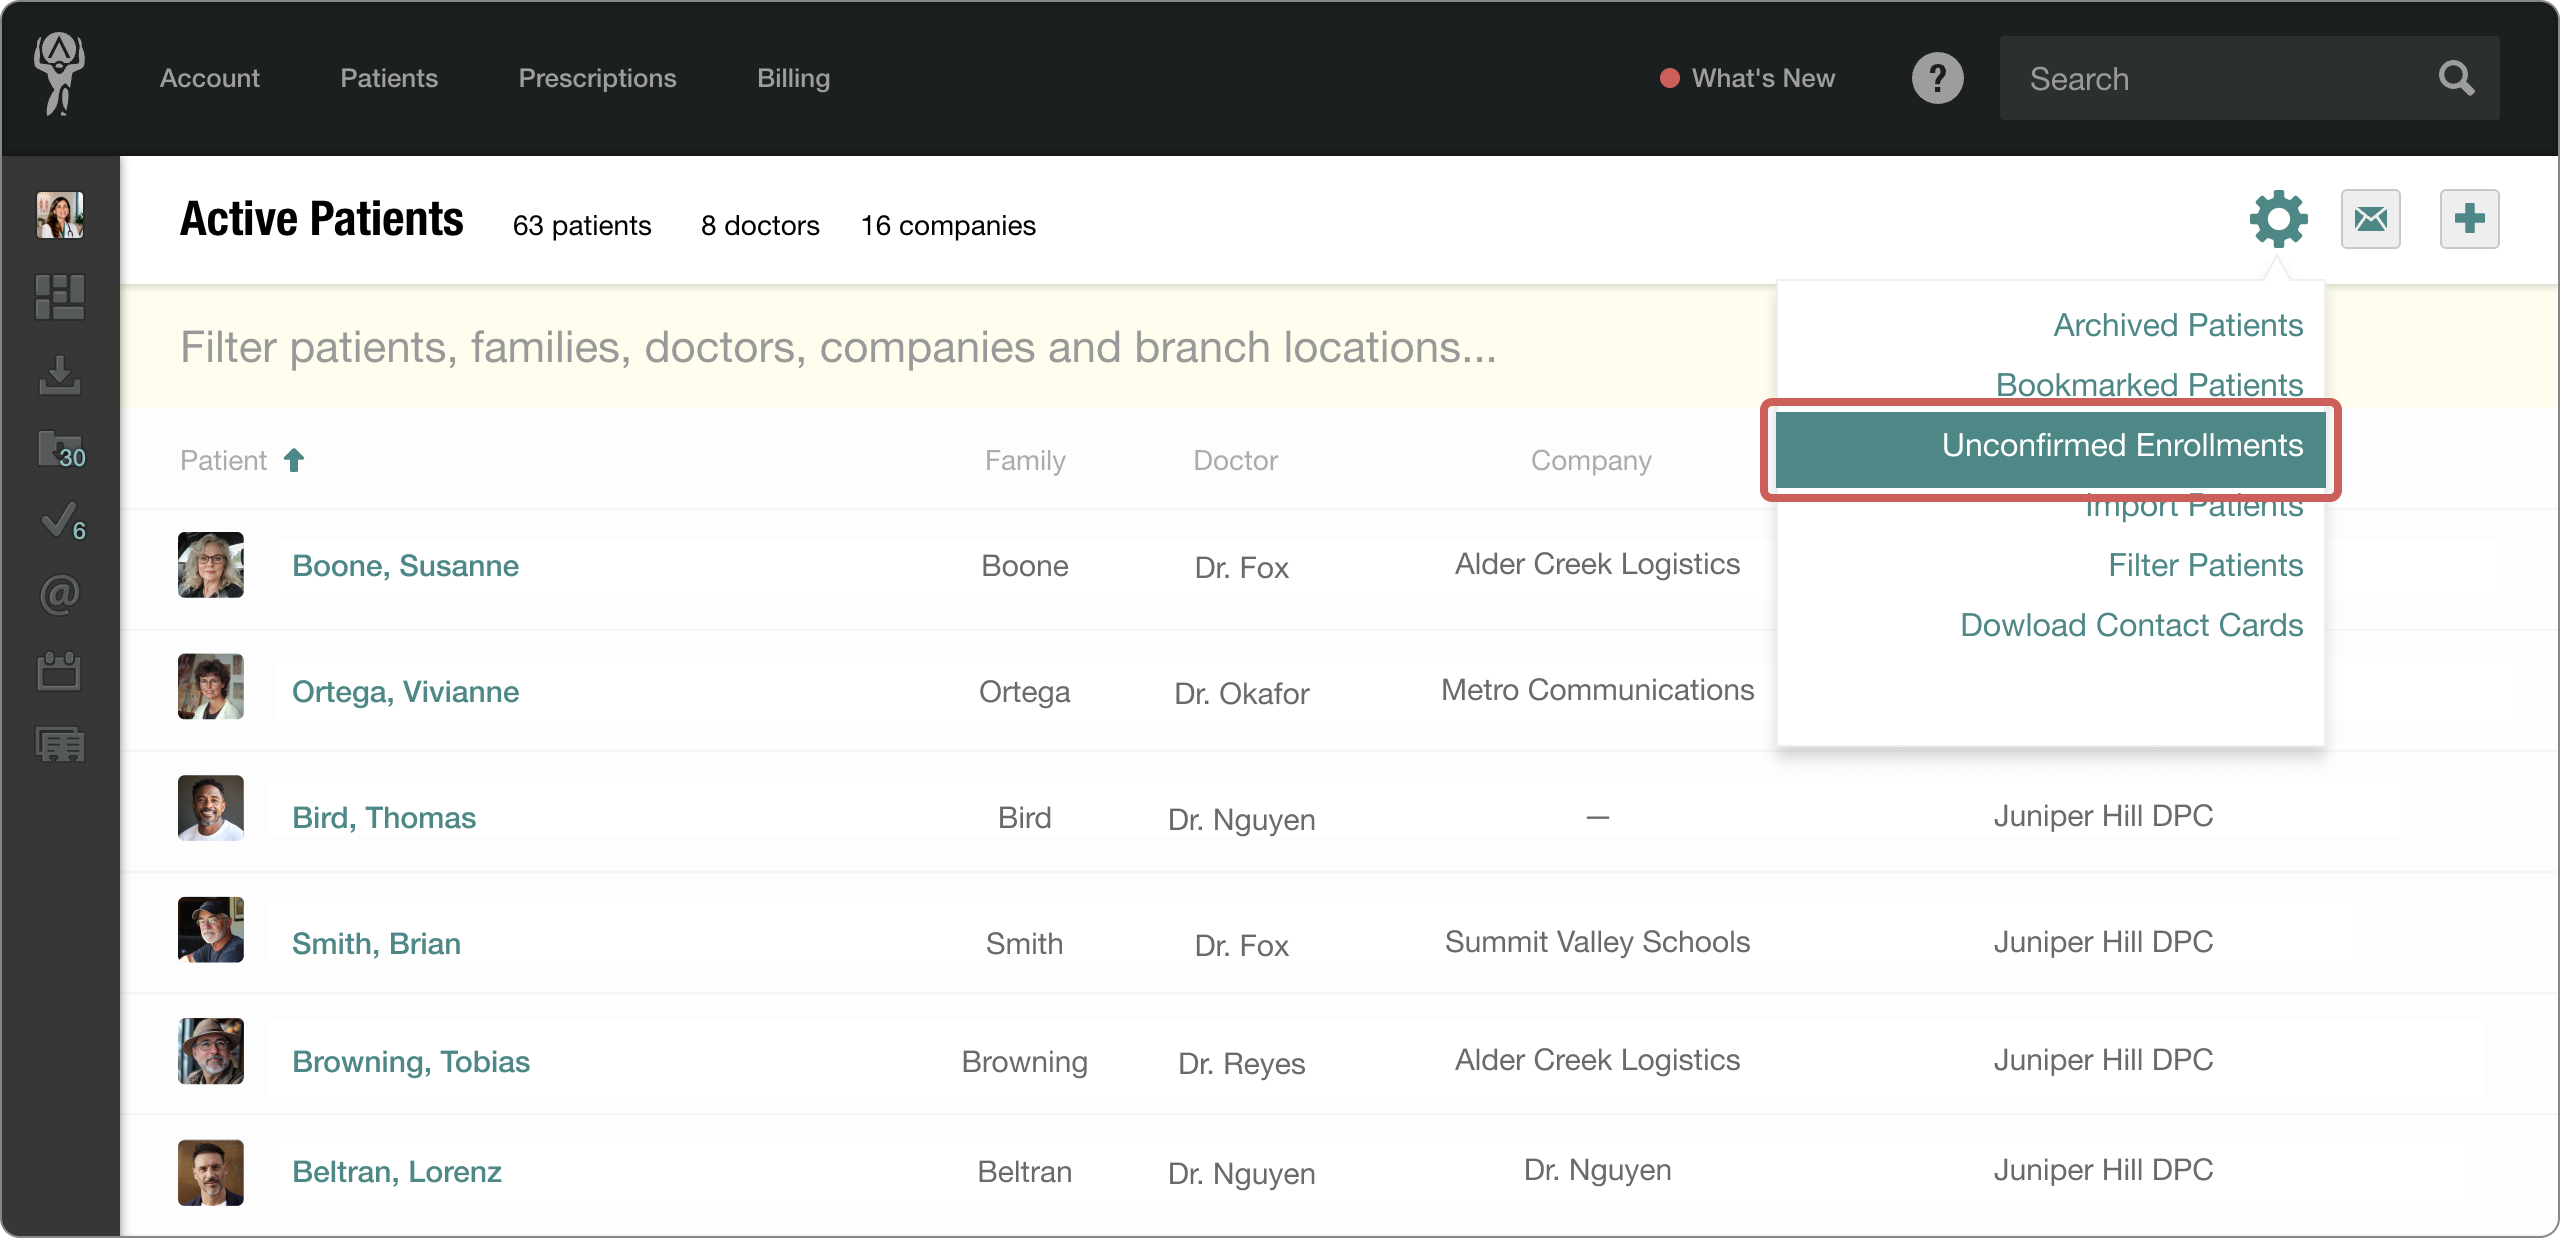
- Open the settings menu in the upper-right corner.
- Select Unconfirmed Enrollments.
- Review the submitted information and approve the enrollment.
Until approved, the enrollment remains unconfirmed and the patient does not enter the regular billing cycle. After approval, you can manage their information from their patient chart.
Choosing Initial Charges and Collecting Payment
When reviewing unconfirmed enrollments, you can choose whether to apply a full or prorated subscription charge. You can also collect an initial payment from the card provided during enrollment.
To set these options:
- Under the list of unconfirmed enrollments, click Charge and Collect Payment.
- Under Subscription Charge Options, choose a full subscription charge or a prorated subscription charge.
- If you want to collect payment immediately, select Collect payments now. This charges outstanding fees to the patient’s supplied credit or debit card.
- Click Confirm Enrollment Billing Options to apply your selections.
Prorating lets you charge for part of a billing period—for example, when a patient joins your practice partway through the month.
Afterward, open the patient’s billing profile to review the charges and subscriptions applied to their account.
